Upcycling Jars: A Simple Guide to DIY Tinting
Have some jars you've been saving to upcycle? Here’s a simple way to give them a vintage, tinted look! Perfect for decor or storage, this quick DIY will transform your old jars into something fresh and new.
Disclosure: Some of the links below are affiliate links. If you click through and make a purchase, I will earn a small commission.
Supplies needed:
Jars (any size you want to upcycle)
Mod Podge (matte or glossy, depending on your preferred finish)
Food Coloring (I used these soft gel paste ones for the color options)
Water (just a splash)
Parchment Paper (optional, but makes for super easy cleanup)
Watch the video tutorial here or keep reading below!
Step 1: Remove Labels Start by soaking your jars in warm, soapy water for about 15 minutes to loosen the labels. Use a knife to carefully scrape them off. (Thanks for all the label-removal tips you shared on my video—I’ll be testing those out soon!)
Soak in warm soapy water and carefully remove label with a knifeStep 2: Prepare the Color Mixture Mix Mod Podge, food coloring, and a splash of water to create your tint. For guidance on measurements, check out my video! The amount of food coloring is flexible, depending on the shade you’re aiming for. As for the water, start with about a teaspoon—just enough to slightly thin the mixture without making it too watery.
color mixture = mod podge + food coloring + splash of waterStep 3: Applying the Color Mixture:
There are two application methods depending on how you want to use your jars:
Option 1: Inside Coating (For decor/storage jars):
If your jars won’t need to hold liquid, pour the mixture inside and swirl it around for even coverage. This technique is super easy, and there is no difference if you use matte or glossy Mod Podge—the finish matches whatever the jar’s original outside is.
Option 2: Outside Coating (For plant cuttings/flowers):
If you want the option to put water in your jars to hold flowers or plant cuttings then you cannot use the technique above as the color will not hold. Instead, apply the color mixture to the outside using a sponge brush. This method can be trickier, and you’ll need to be careful to smooth out any streaks. There’s also a noticeable difference between matte and glossy Mod Podge, so be sure to choose the finish that best suits your style when using this technique.
technique #1: pour and twirl on jar inside
technique #2: apply on jar outside with sponge brush
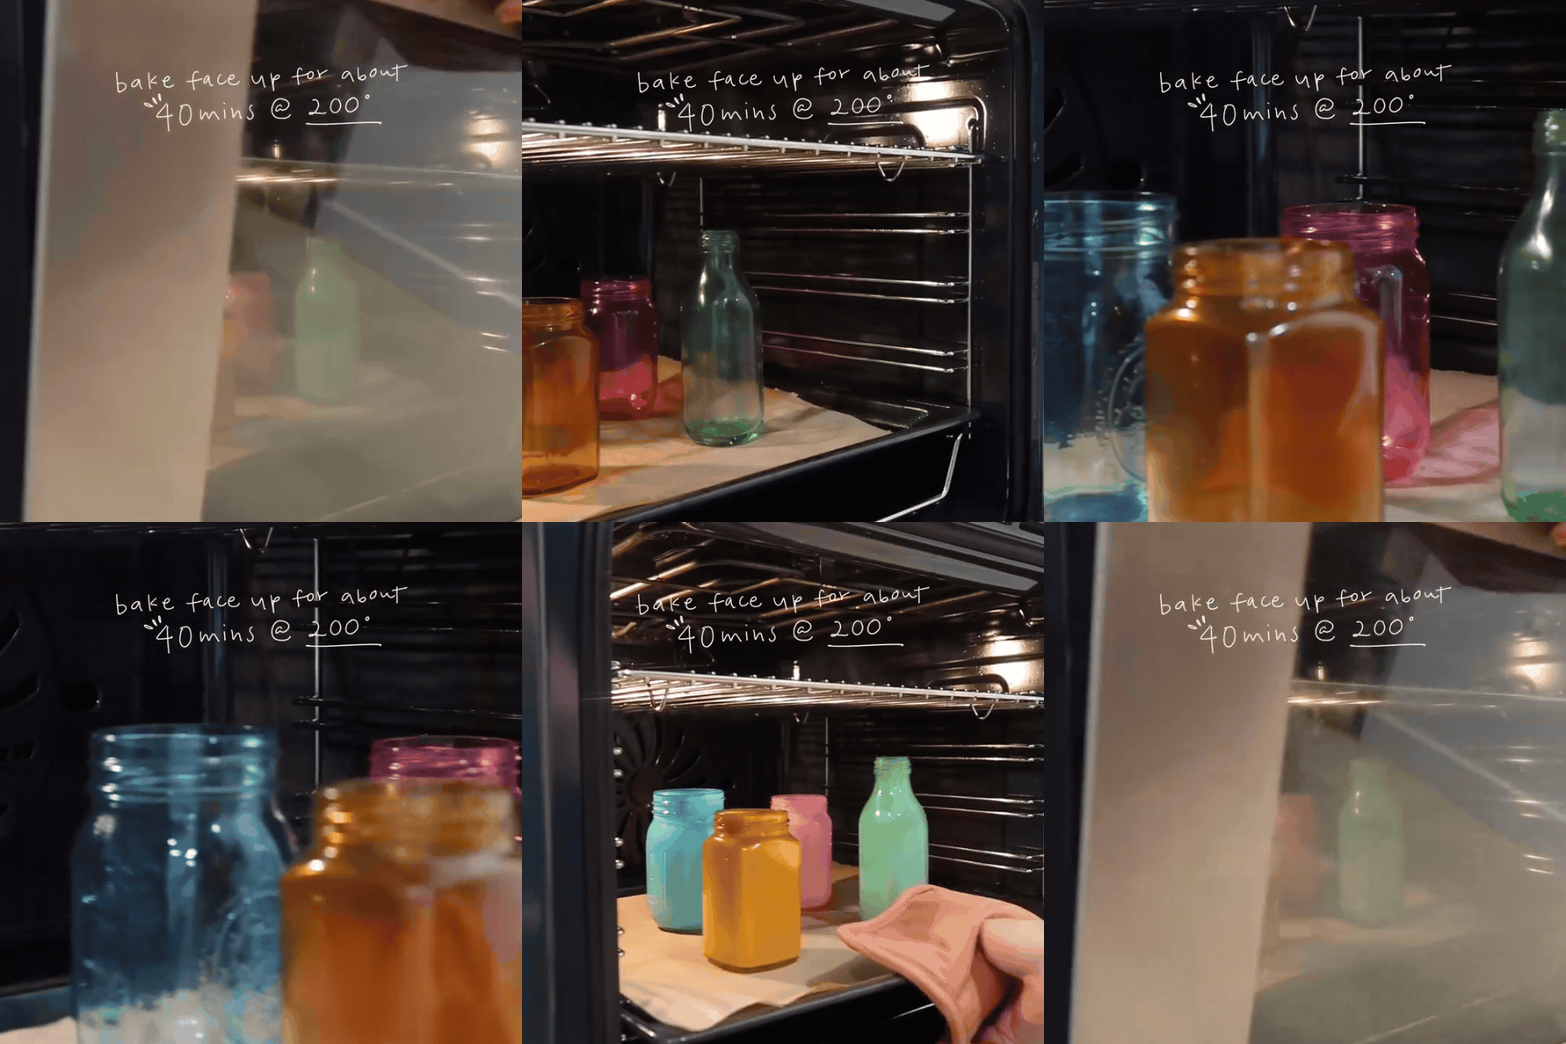
Step 4: Dry and Bake Let your jars sit face down until completely dry. I let them dry on parchment paper for an easy clean up. Once dried, place the jars face up in the oven at 200°F for about 40 minutes. Carefully remove from the oven, let cool, and your upcycled jars are ready to use!
bake at 200 degrees Fahrenheit for about 40 minutesI also answered a bunch of questions you left on the original video in this post here! Feel free to reach out with any other questions and if you try this DIY, feel free to DM me or tag me on Instagram @its.courtneymichael—I’d love to see what you create!


